


Can you believe Christmas is less than a week away? If you're like me & haven't had a chance to wrap all your goodies, yet you still want to add a personalised touch, these DIY tags are perfect.
What you'll need:
- Coloured or plain cardboard sheets
- Stamp ink pads in various colours
- Christmas stamp-I got mine from Kikki-K
- Rustic twine or coloured string
- Hole-punch
- Scissors
- Pencil
- Ruler


1. Measure the length of your stamp to determine the size of your tag. Mine was about 6 cm.

2. Once you've drawn a rectangle to accommodate the stamp, measure the halfway point towards the top of the tag & make a small mark. Then corner of the top of the tags to make that classic tag shape. For example: My rectangle was 6 cm by 8 cm, my halfway point was 3 cm & I measured 2 cm diagonally to square off the tag shape.

3. Once that has been cut out, punch a hole at your halfway mark & rub off excess pencil marks.


4. Stamp your tag with the chosen ink colour.

5. Write your message & loop tie with twine.
Et voila! You have your very own personalised tags!

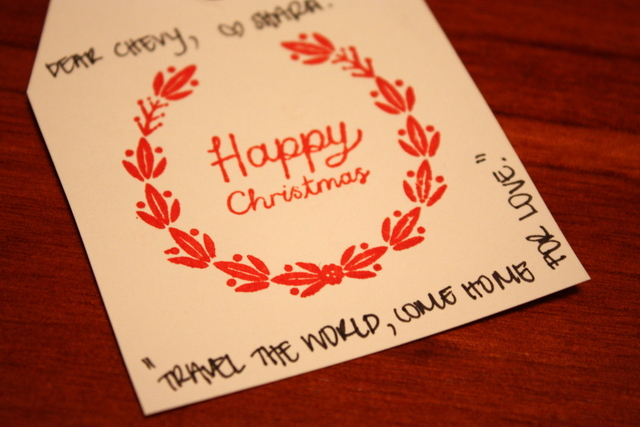


You can do so many different variations with this simple template. Above are a few with some cute little quotes & inspirational words. Hope you enjoy my first DIY!
Photos by me
Looks great! Fabulous way to personalize a gift :-)
ReplyDeleteLove,
Jolien
http://julianaandthedaydream.blogspot.be
It truly is! X
Delete